With the world getting digitized, online presence of business has become highly important. While nothing can beat TV advertising, there are a whole set of people whose world revolve around social media and everything digital. Having an online presence has uncountable benefits. Having a Facebook Page allows you to update your customers in the quickest way possible. You also have a direct relationship with your customers. You can easily receive grievances and testimonials and respond to them in real-time. These are just a few of the innumerable benefits you can achieve by having a Facebook page.
Below is a step by step process on how to create a Facebook page for your business.
Step 1: Picking your Page’s Category
The first step to create a facebook page is to go to https://www.facebook.com/pages/create.php
Once you are navigated there, you will see a category to pick from 6 different classifications. You have to choose the category that is the most relevant to you business/product or service.
The six classifications are
- Local Business or Place
- Company, Organization, or Institution
- Brand or Product
- Artist, Band, or Public Figure
- Entertainment
- Cause or Community
Company, Organization or Institution –
A school, college, a real estate company are a few examples that would fall under this category. Here is an example of a page of leading real estate company:
Brand or Product –
Samsung, Maybelline, Colgate, etc, fall under this category. If your brand fits the bill, you should choose this category for you page.
Artist, Band or Public Figure –
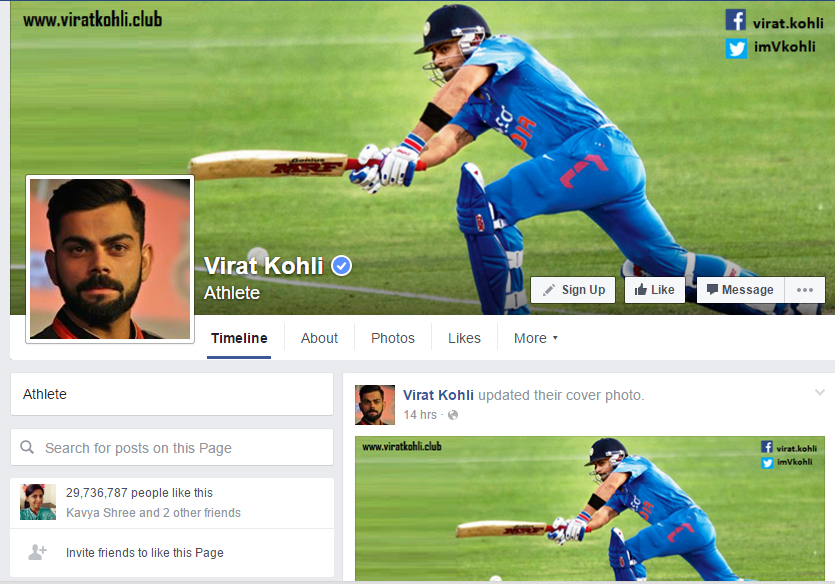
If you are looking to create a page for a music band, actor or a famous personality, this category should be your pick!
Entertainment –
TV channels, theatre companies and the like should choose this category while making the page.
Cause or Community –
If you are looking to create a page for a CSR activity of a company or a cause like arranging funds for an old age home, or an LGBT community, this is the most relevant category to choose.
Step 2: Registering a Page Name
Let us create a page for a local business, say a restaurant and choose that category.
The moment you click on that category, you will see a drop box with the following items.
Once you have filled in the details, click on ‘Get Started’. Ensure that you add the exact address in case of a local page or any page because that location gets denoted on the map and helps in check-in.
Your page name should be short and crisp. Use not more than 3 to 4 words. For example: if you are a startup you might want to add suffix along with your brand name ‘Chavi – Fashion Boutique Chennai’ – This ensures your presence when people make a search and also when it creates a social story of your customers liking your page. There is a huge difference between just using ‘Chavi and Chavo – Fashion Boutique’
Step 3: Filling Details That Matters
3a. About us Section:
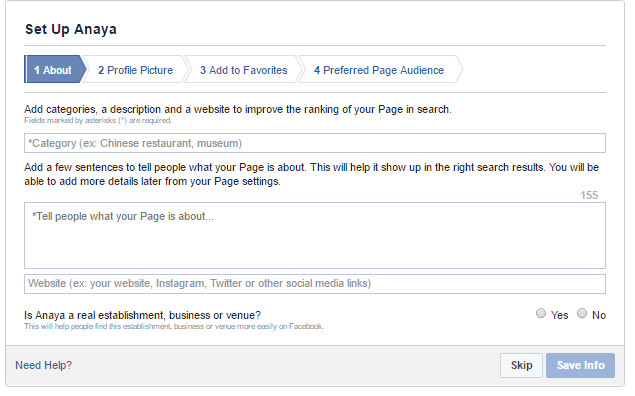
After clicking on the Get Started icon, the first thing that will appear is ABOUT.
It is very important to fill in the ABOUT section. This will let your customers know about your business and give them insight about what you have to offer.
Since we are creating a page for a restaurant, mention the cuisine in the first box, as mentioned it improves the ranking of the Page in search.
Elaborate more about the business in the next box. You can talk about the speciality of your restaurant. You can also mention the branches of your restaurants.
If your business has a website, do not forget to add that too!
Tips for About Us Section:
- Write your content in pointers and not in paragraphs.
- Add at-;east 10 pointers about your company.
- Answer the most crucial questions and also define the purpose of your presence on Facebook through the same.
3b. Profile Picture:
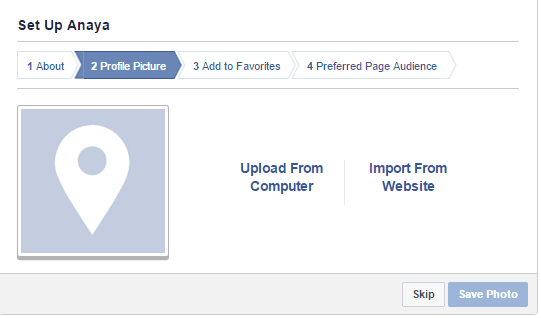
Set a profile picture for your page. Make sure the picture is square. Also the picture should be at least 180 pixels wide and 180 pixels tall. It is best to use your logo as the profile picture and avoid using texts. It is advisable not to change the profile picture often as consistency is the key.
3c. Add to favorites:
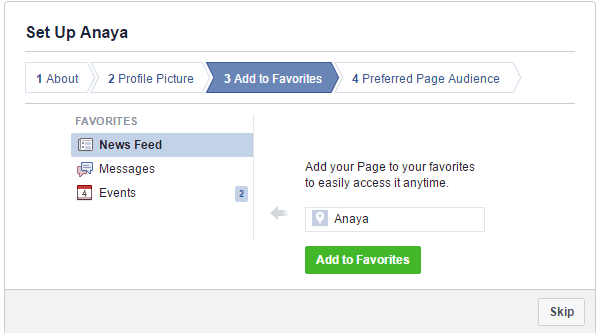
You can add the page you created to ‘favorites’ so it is easy for you to find the page. Also people who visit your profile can see your page on the favorites section and like the page.
3d. Preferred Page Audience:
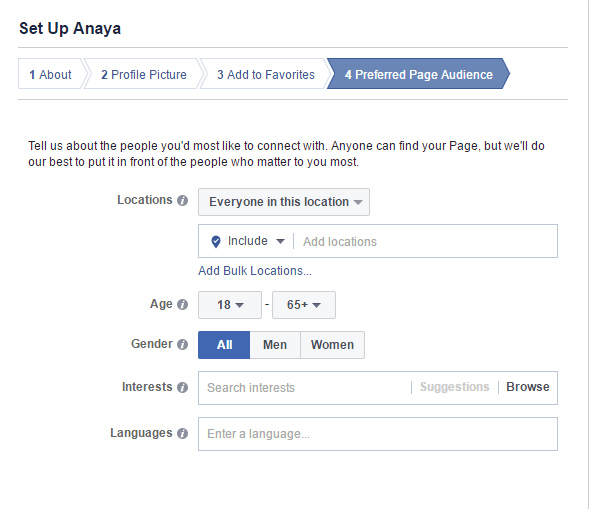
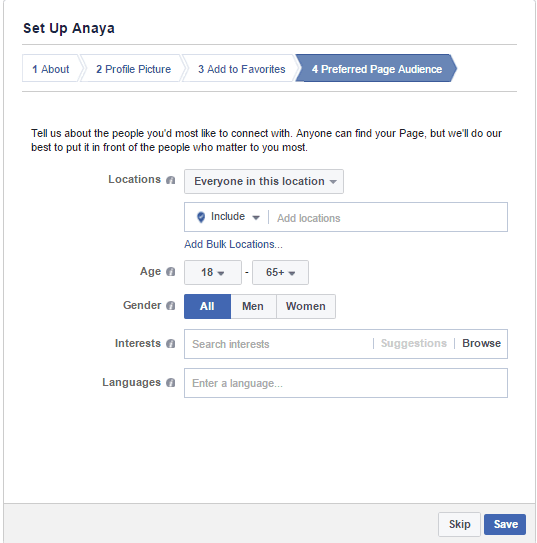
If you like your page to be dedicated to a specific set of audience, like location specific, gender specific or age specific and the like. Choose the audience that is most relevant to your brand. You can also skip this step if you may find it irrelevant.
I would suggest you to skip this step as you might not want to restrict your page’s reach for a specific audience only in the beginning.
3e. Preferred page audience:
This could be an important aspect in setting up the page. If you are location specific, it is advisable to set the location your brand is most associated with. Otherwise, you can skip this option and move on and your page will be created.
3f. Add a Cover Photo:
I many a times see images taken from Google used as cover picture. Sometimes they don’t fit the size or at times they are not relevant. Remember, your cover picture is your news channel. It shall communicate to your audience on behalf of your brand. Cover picture can either convey the latest news of your organization, your theme of communication or a picture (if you are too lazy to change it often).
The standard size for Facebook cover picture is ______________.
3g. Add Call to Action Button:
Once you have created the page, this is how it will look. If you have skipped certain options like adding of profile picture, you can do that after the page is created. Key in all the relevant details. An important aspect of a profile page is the ‘Call-to-action’ button. The call-to-action can lead the user directly to your website.
Choose the button that is most appropriate for your brand. For a restaurant page, the most relevant button would be ‘Call now’ for bookings and reservations. This button is extremely useful as it leads to direct connection with the user. You are various options to pick from and some of the most commonly used ones are Contact Us, Call Now, Sign Up.
Step 4: The Final Page
This is how your final page will look like. Do not miss out on filling important details. A profile picture and cover picture is very important as it forms the identity of your page.
Once you have followed all the steps, your business page is ready and you are all set to rock the social media scene!
Step 5: Important Settings For Your Facebook Page You Should Look Into
1. Enable or Disable Review Section on Your Page: Facebook allows you to allow or disallow your audience to review your brand. Remember, controlling reviews is not easy. You cannot delete them. So, unless you are really not sure of your product will be perceived don’t enable this feature.
2. Message Feature: Message or inbox on your page is a great feature that you can enable to strike a personal conversation. But if your team is not ready for Customer Service then don’t activate this. Your page will be judged on the basis of how quickly you respond.
3. Tagging Ability: If you wish to make your content reach to larger audience. If you aim at making your content piece go viral. Sometimes, your posts will help remind of their friends. If you allow tagging on the photos or videos they will immediately tag their friends when relevant or during some contests. Don’t disable this feature. You can also enable or disable others tagging your page as reference.
4. Page Moderation: If you have list of words that you don’t allow your audience to use on your page then list them down here in the Page Moderation section as this will immediately ban those people from the page when such comments are used.
5. Comment Ranking: You would have often seen the comments which gets maximum likes stays on top and the rest below. You can disable the ranking as most times it’s the trollers who would like to share something to get visibility on the top. However, this is very subjective to brand its your choice if you want to keep the ranking system or avoid.
This article was contributed by Sindhu Guptha – Social Media Executive in echoVME


