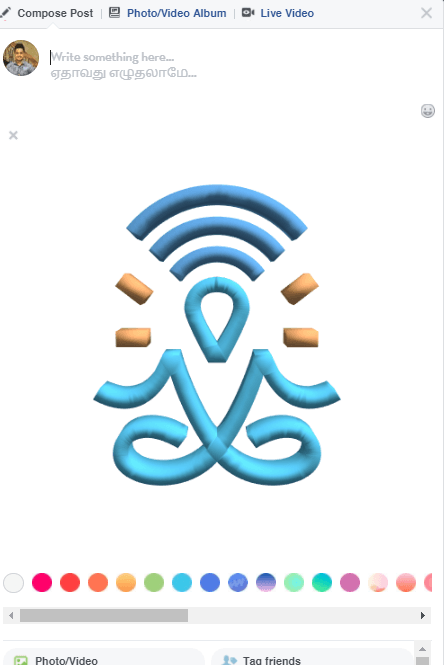
Facebook 3D posts are just so cool and it is very easy to create and upload one. I recently uploaded my first 3D post on my Facebook page, check below:
So here is my attempt with Facebook 3D Post. How do you get this done? Read bere:…
Sorav Jain यांनी वर पोस्ट केले गुरुवार, १५ मार्च, २०१८
3D Posts allows you to play with the object in the image.
First Step to Follow:
- Before you create your 3D post you need to create an object on illustrator, like how I have used my logo and then you need to export or save it as .SVG file.
- You can make use of Paint 3D and create simple objects that can be saved as .glb file.
- For you to just learn this quickly without any personalization, you can log in to Flaticon.com for free SVG files, where you can use existing objects like Facebook logo or cartoons and while downloading it save them as .SVG
- Please note the file size shouldn’t be more than 3MB
After you have your .SVG file, you need to use Vectary and follow this step by step guide to make this journey a lot easier:
Step 1: To begin creating your 3D image, go to Vectary.com and click on ‘start creating’
Step 2: You’ll be prompted to login or create a new account. Vectary allows you to create an account using your Facebook or Google profiles.
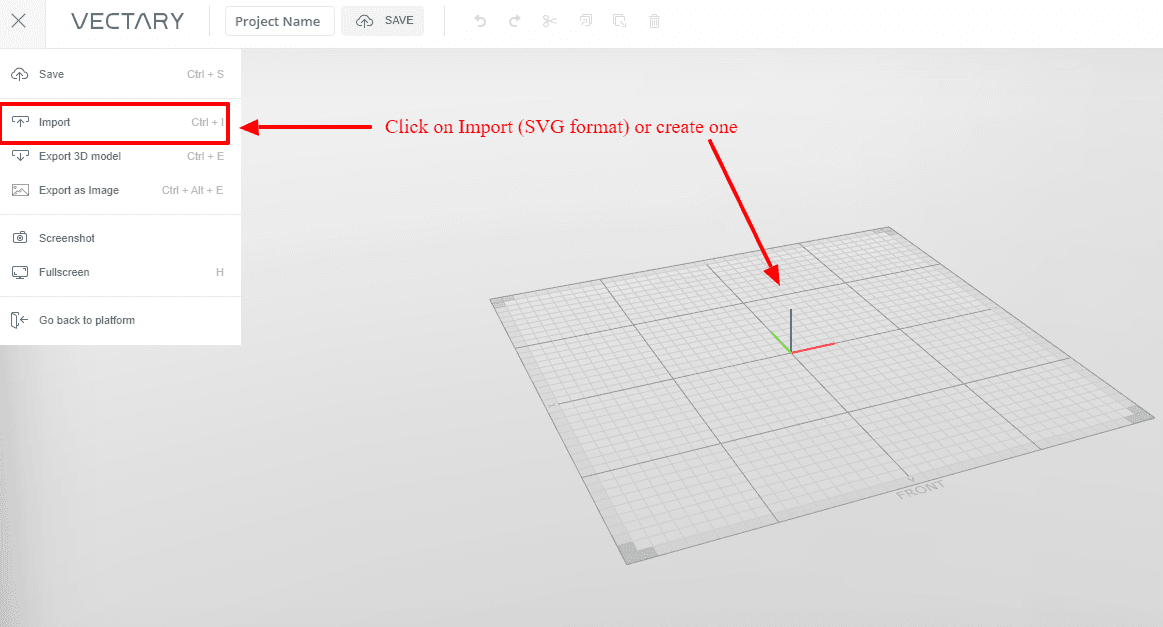
Step 3: After creating your account, you can start with creating your 3D image on the platform by clicking on the ‘Import’ option from the drop-down menu to import your .SVG file.
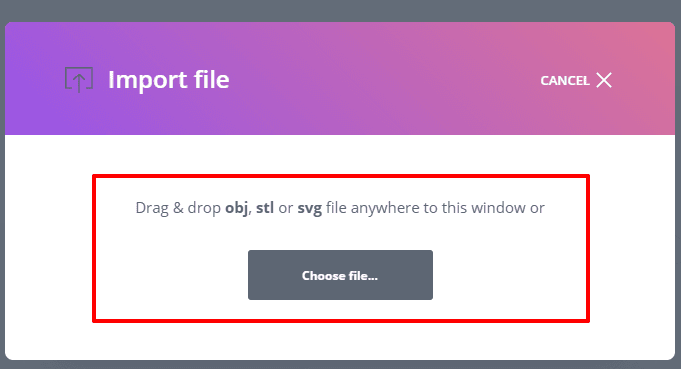
Step 4: If you’ve chosen the import option, you’ll be prompted to choose/ drag and drop your files of the specified formats as shown on the screenshot below.
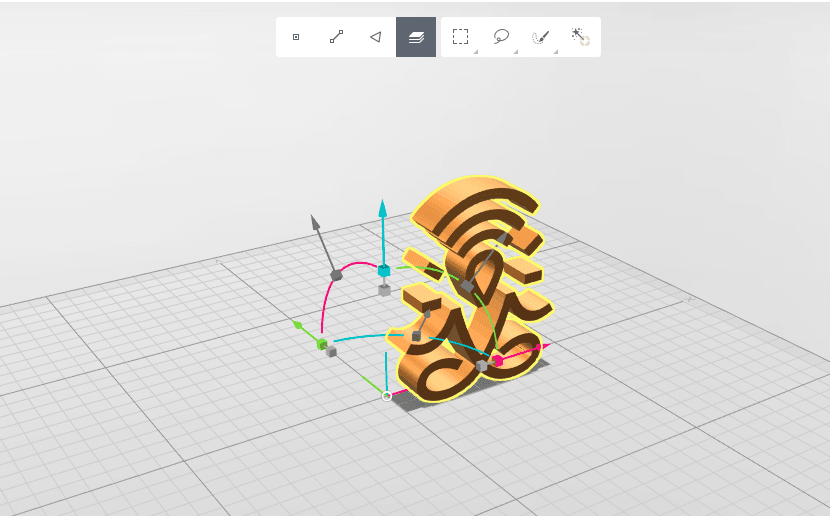
Step 5: Once imported your image would look as shown below. You can rotate and resize the object using the three coordinate axes seen on the plane.
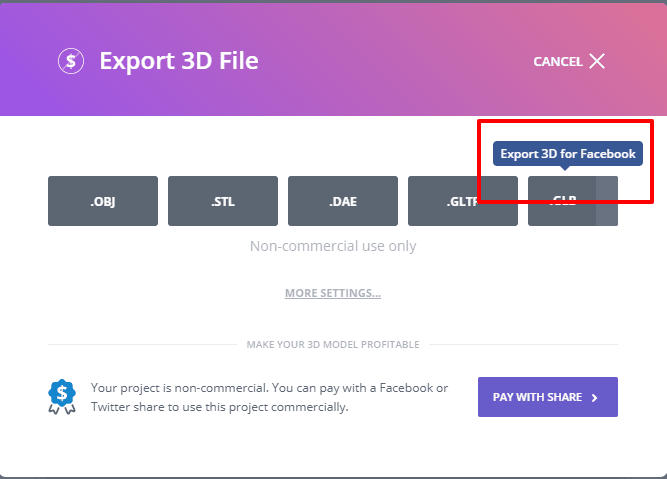
Step 6: After fixing your object’s position and size, click on the drop-down menu and select ‘Export 3D Model’ as shown below.
Step 7: Select the .GLB format to export your file as it is the format that Facebook supports for 3D posts.
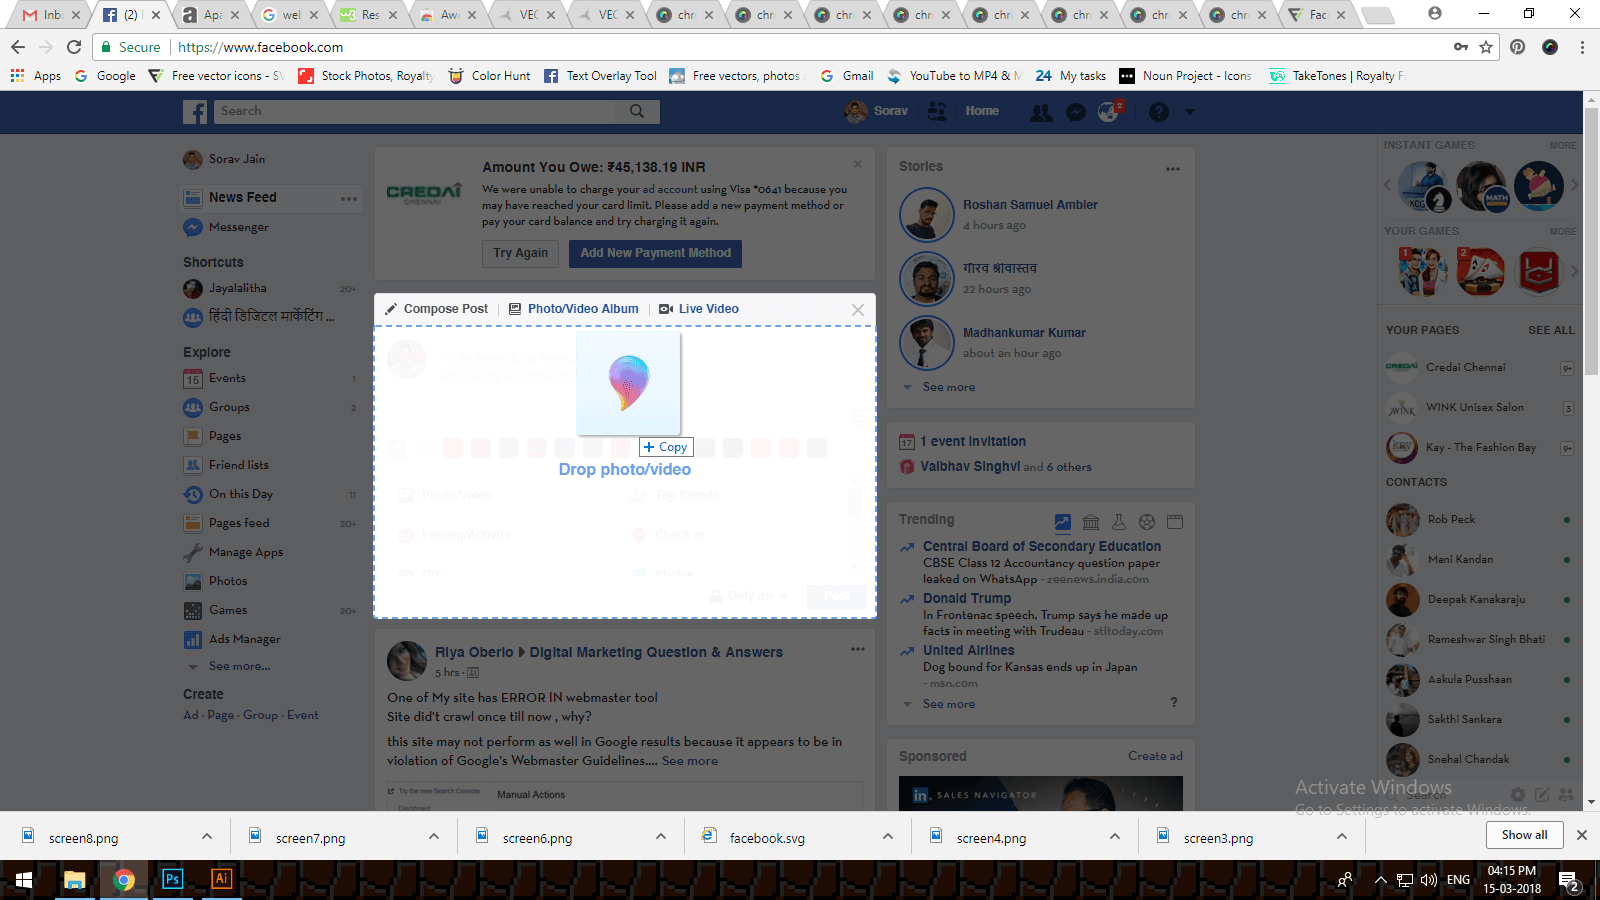
Step 8: Now all there is left for you to do is to login to Facebook, drag and drop your .GLB file.
Step 9: Your final 3D Post output would look as shown below.
I found this new feature from Facebook pretty fun and interesting! Go try creating your own 3D post and tell me how you liked it in the comments section below.


