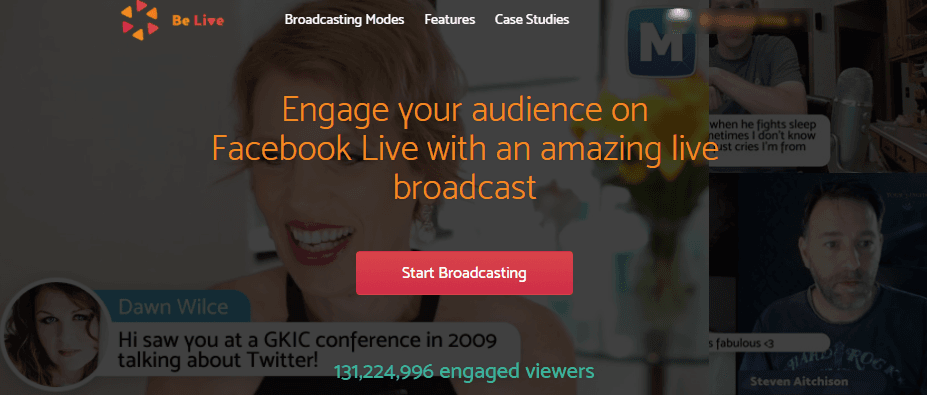
Going live has become quite common with Facebook having rolled out this feature to all users roughly about a year ago. As common as it is, this feature has a huge marketing potential! I usually take advantage of this feature by going live for Q&A session on my public profile. All this being said, I make it a priority that my viewers are able to see and listen to me clearly seamlessly. I stumbled upon this handy tool called BeLive, which I can use to live stream from both my phone and laptop. It has helped me create high quality live broadcasts by integrating it with my Facebook profile.

Here’s a sample live session I recorded using BeLive.
Table of Contents
Reasons why you should make use of BeLive for going Live-
- BeLive is an app that works for both phone and desktop screen and has great audio quality updates. Using laptops to go live would make your streams more visually captivating.
- There are different modes of going Live through BeLive which is the best advantage of it. You can start off solo on the screen, include guests later on, and even conduct interviews or talk shows if you want to. With the different broadcasting modes available in BeLive, going live is made more of a fun and joyous experience.

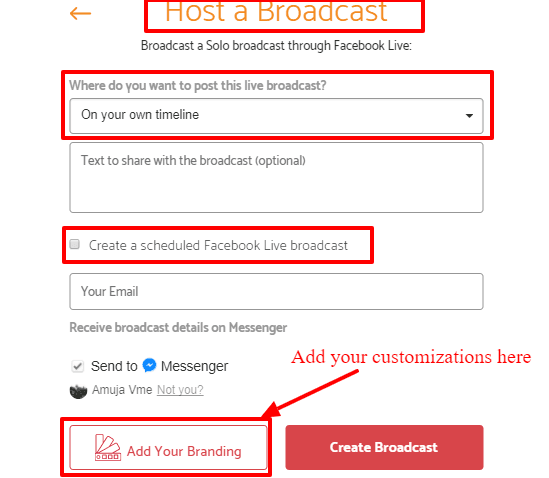
- You can select the page where you wish to make the live stream from, that is, from your FB profile, a page that is managed by you, an Event page and a group or just testing it which won’t stream publically.

- Scheduling your broadcast can be done beforehand through BeLive. When you schedule a broadcast then a post in the form of a reminder about it is generated on your page, timeline, event or group. Broadcasts can be scheduled only up to a week in advance.

- Supports zoom in option on a guest in a talk show which gives a clear picture ever after the screen is shared.
Features which would make you want to start off with this app immediately-
#1 Agenda-

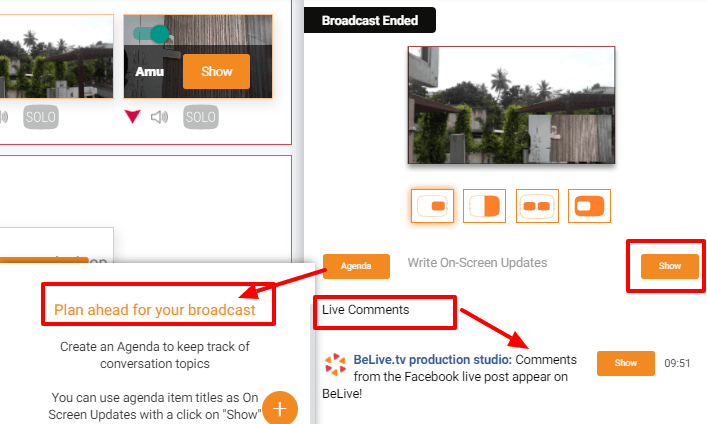
You can add agendas on you BeLive account. It is the best way to keep your broadcast organized. With an agenda in hand you can pre-plan the different segments of your broadcast and you can also bring these to your screen.
#2 Screen Comments-
This is one of the best features of BeLive and also the best way of interacting with your audience. You can look at the comments made by your users and bring them to your screen while you are live. These comments basically come on your BeLive page and to show them on your screen all you have to do is click on show. Engaging with your audience with the help of screen comments would make them feel valued and appreciated and would indirectly create more engagement for your broadcasts.
#3 Screen Share-

Want to have a tutorial or conduct classes live? Need to share things while doing so? Well, BeLive gives you a seamless way to view anything that might be important for your viewers with the option of screen share. To share the screen while using BeLive you have to install BeLive Chrome. Sharing of screen can only be done by the host.
#4 Photo Share-
When you create a talk show broadcast you can upload/share photos from your Facebook albums. When you click on the photos which are to be added they will be added to your broadcast. Using photos is a fun way of presenting slides to your viewers.
#5 Adding Customizations-

BeLive lets you add your logos, change background text and colors and also include frames which would appear on your live broadcasts.
#6 Updates on Screen-
BeLive helps you make updates on your screen. Like for instance if you want your viewers to know about the new idea that you have or about the new thing that you would discuss on your broadcast, then you can show a text over your broadcast which will let your viewers follow the updates or changes made by you!
#7 Changing the view mode-
You can change the view point of your broadcast by changing the view mode and bringing into focus another person. You can also do this while sharing a photo during a screen share.
Step-by-Step Method To Go Live:
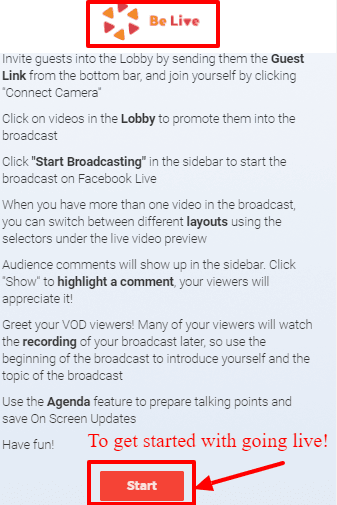
Step 1: Create an account by clicking on the login button.

Step 2: Connect it with your Facebook account, as BeLive does not stream through anything else. With this integration you will directly be broadcasting to Facebook.

Step 3: Allow access to your camera and microphone before starting your live stream.
Once you’ve logged in you’re ready to make broadcasts. Before beginning with live streams, you can even test it.

Compatibility- Compatible with Phone & Desktop
Pricing-BeLive can be tried for free for 14 days which would let you get all the experience you need of using it. It also gives 20 minutes free broadcast every week.

Other than the free broadcasts you also have plans which you can make use of if you want more features. There are three different plans which cater to different features. You can choose the package that satisfies your needs.

Give this amazing tool a try and share with me your experience in the comments section below!


